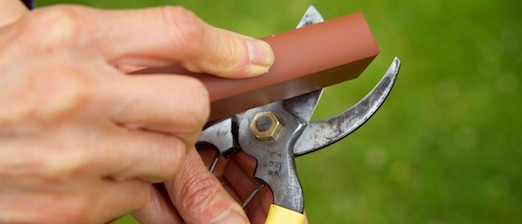
How to sharpen garden tools and essential sharpening tools
Advice on sharpening garden tools, with a step-by-step video on how to sharpen shears. You'll also find all the products you need to get the job done.
Good garden pruning tools are essential. They make light work of day-to-day garden tasks such as deadheading, pruning roses, coppicing and so on. However, when it comes to tools such as shears and secateurs, these benefits are lost if the tools are blunt.
Luckily, keeping garden tools sharp throughout the year is pretty straightforward - it’s usually only a lack of routine that interferes. Ideally you should sharpen your tools little and often, but have an extra session two or three times a year in preparation for busy seasons.
Almost as important as keeping your tools sharp, is keeping them clean. Leaf sap quickly builds up on blades and clogs up the mechanism, reducing the efficiency of the cut.
How to sharpen garden tools
Here’s some advice and handy tips to help you sharpen your tools and keep them working well for longer.
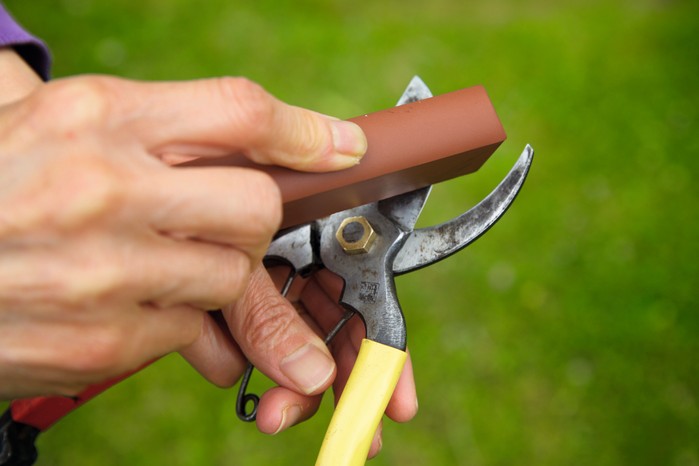
Keeping tools sharp throughout the year is pretty straightforward, it's usually only a lack of routine that interferes.
For regular tool sharpening we always recommend not taking your secateurs or shears apart, as they never quite feel the same once you start fiddling with them.
The trick with sharpening all tools is to go slow, and to concentrate. Try and adopt a fixed position, putting light but equal pressure along the whole length of the blade.
Also, learn to take care of your tools and treat cleaning and sharpening them as important a job as any other in the garden. There’s no reason why a good pair of secateurs shouldn’t last a lifetime.
Sharpening shears
Shears are more straightforward to sharpen than secateurs – you only sharpen the outside of each blade, but you sharpen both of them.
Once finished, take the burr off the inside edges. This applies to snips and other straight bladed tools as well.
Watch Jake explain how to sharpen shears using a Crean Mate, 1000-grit sharpening stone and Camellia oil.
Sharpening loppers and bypass secateurs
Bypass secateurs and loppers are slightly trickier tools to sharpen than double-edged shears because the blade is curved and hard to reach, which is why a small stone is important. The best stones have a contoured, concave edge to follow the curve of the blade.
You only need to sharpen the cutting blade, not the bypass (the blunt, lower part), and normally you only sharpen the outside of the blade.
Different secateurs will have different bevels (sloping surface or edge), but typically the angle is 20-30 degrees. Once this outer edge is sharpened, you remove the burr on the inside, effectively creating a very fine bevel, which adds a bit of strength to the blade.
What you’ll need - essential sharpening tools
Whetstone
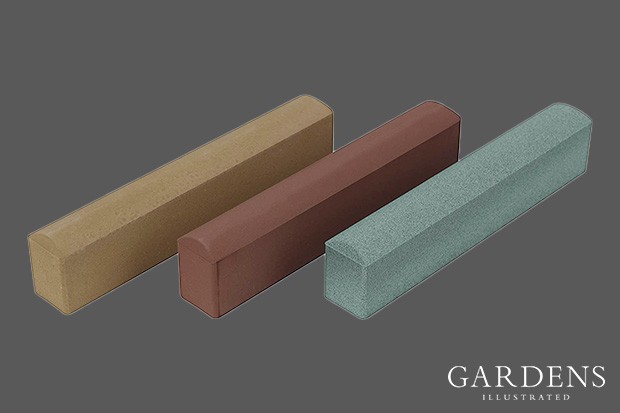
Most important of all is a whetstone – preferably a small water stone (much tidier than oil stones) that can sharpen small secateurs blades as well as larger edges. It should be soaked for a couple of minutes before use.
More like this
Sharpen your tools every few weeks or so and the whetstone will keep a decent blade in good condition.
We recommend going for Niwaki’s multi-pack of sharpening stones. It comes with a grey 220-grit for rough and damaged blades, a brown 1,000-grit for day-to-day sharpening and a beige 3,000-grit for perfecting high-quality steel.
See our full round-up of the best whetstones for tool sharpening in our guide.
Diamond file
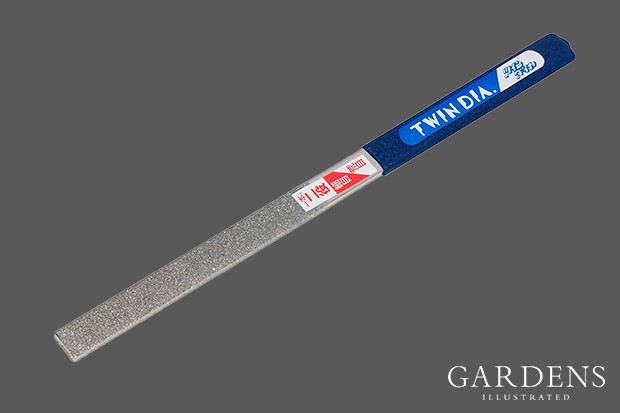
For older, or more damaged blades you’ll need something coarser – either a coarser grit of whetstone or a diamond file works very well in grinding back a damaged edge to a clean profile.
This high-quality diamond file from Niwaki has two different grit ratings, making it a versatile tool. Use the 120-grit side to work through steel and create a new edge, before flipping over to the 300-grit panel to refine it.
Once you’ve finished with the diamond file you can start using a whetstone to perfect the blade.
Abrasive material
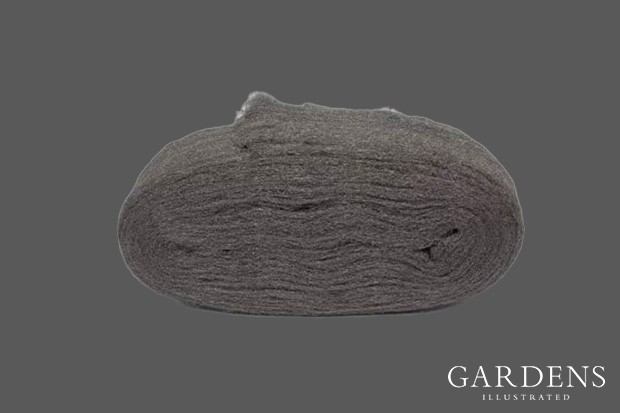
Some sort of abrasive to remove leaf sap is useful. This can be a washing sponge, fine wire wool or a special cleaning block.
Liberon’s ultra fine wire wool is a good choice if you want to clean up the look of metal blades. It’s made from steel and shouldn’t crumble as you go. You’ll get a metre-long strip of wool in this pack.
Camellia oil
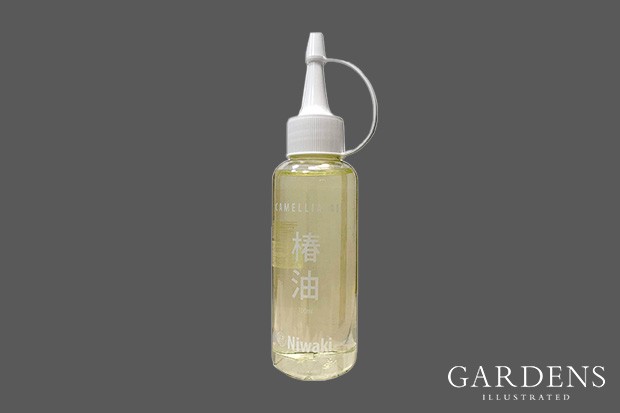
Once clean and sharp, a light oiling is needed. The Japanese have traditionally used Camellia oil, ground from the seeds of the tea plant Camellia sinensis, to keep blades moving freely and prevent rust.
You can buy Niwaki’s 100ml bottle of Camellia oil from Amazon.
Jake Hobson is a leading topiary and pruning specialist and founder Japanese tool supplier Niwaki. You can find more videos from Jake and the Niwaki team on Vimeo.

Niwaki bundle worth £57 when you subscribe
Subscribe to Gardens Illustrated magazine and claim your Niwaki bundle worth £57
*UK only

Container Gardening Special Edition
The Gardens Illustrated Guide to Container Gardening.
In this special edition, discover colourful flower combinations and seasonal planting schemes for pots designed by leading plantspeople, and essential know-how for container gardening success. Just £9.99 inc UK p&pBy entering your details, you are agreeing to our terms and conditions and privacy policy. You can unsubscribe at any time.
Gardens of the Globe
From botanical wonders in Australia to tranquil havens closer to home in Ireland, let this guide help you to discover some of the most glorious gardens around the world
By entering your details, you are agreeing to our terms and conditions and privacy policy. You can unsubscribe at any time.


